Call or Whatsapp +254795900573
Guide to Crafting the Perfect Customized PC
Building your own PC isn’t just a techie rite of passage—it’s an art form, a puzzle, and one of the most rewarding projects you’ll ever undertake. Whether you’re after a gaming powerhouse, a video editing beast, or just a machine that can keep up with your everyday multitasking, customizing your PC ensures you get exactly what you need.
In this guide, we’ll walk you through every step of the process, from choosing components to piecing them together like a tech-savvy LEGO set. Let’s dive in and build your perfect PC!
Why Build Your Own PC?
Before we roll up our sleeves, let’s talk about why you’d want to go the DIY route:
- Customization: Pre-built systems often come with compromises. Building your PC means every component is handpicked to suit your needs.
- Cost-Efficiency: You get more bang for your buck by cutting out unnecessary features and focusing on what matters.
- Upgradability: A custom PC is easy to upgrade and adapt over time.
- Satisfaction: There’s nothing quite like booting up a system you built from scratch.
Still with me? Great! Let’s start by picking your parts.
1. Plan Your Build
The first step is knowing what you want your PC to do. Are you building a gaming rig? A workstation for video editing? Or maybe a general-purpose machine? Your goals will determine your budget and the components you’ll need.
Budget Breakdown
Here’s a rough guide to how you might allocate your budget:
- CPU (20–30%): The brain of your PC.
- GPU (30–50%): Essential for gaming and graphics-intensive tasks.
- Motherboard (10–15%): Connects everything together.
- RAM (10%): Impacts multitasking and performance.
- Storage (10–15%): SSDs for speed, HDDs for capacity.
- Power Supply (5–10%): The lifeblood of your system.
- Case (5–10%): Protects and houses your components.
- Coolers & Fans (Optional): Keeps your system cool and quiet.
💡 Pro Tip: Don’t forget peripherals (monitor, keyboard, mouse) and an operating system!
2. Choosing Components
Each part plays a critical role, so let’s break it down.
a) CPU (Central Processing Unit)
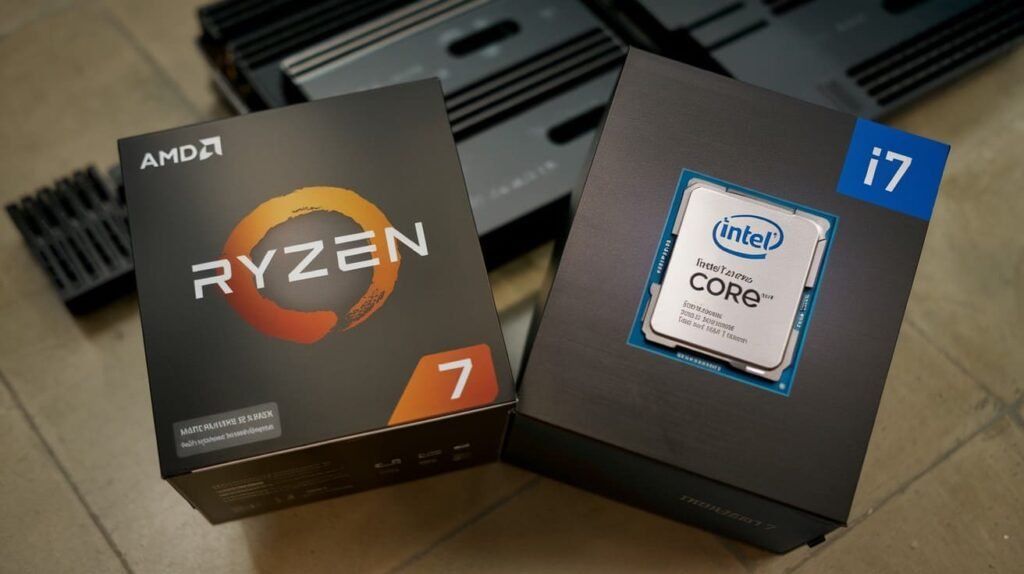
The CPU is your PC’s brain, dictating its overall speed and performance. For most users:
- Intel: Better for gaming (higher single-core performance).
- AMD Ryzen: Excellent for multitasking, productivity, and gaming (more cores/threads).
💡 Top Picks (2025):
- Budget: AMD Ryzen 5 5600 or Intel Core i5-12400.
- Mid-Range: AMD Ryzen 7 7800X or Intel Core i7-13700K.
- High-End: AMD Ryzen 9 7900X or Intel Core i9-13900KS.
b) GPU (Graphics Processing Unit)
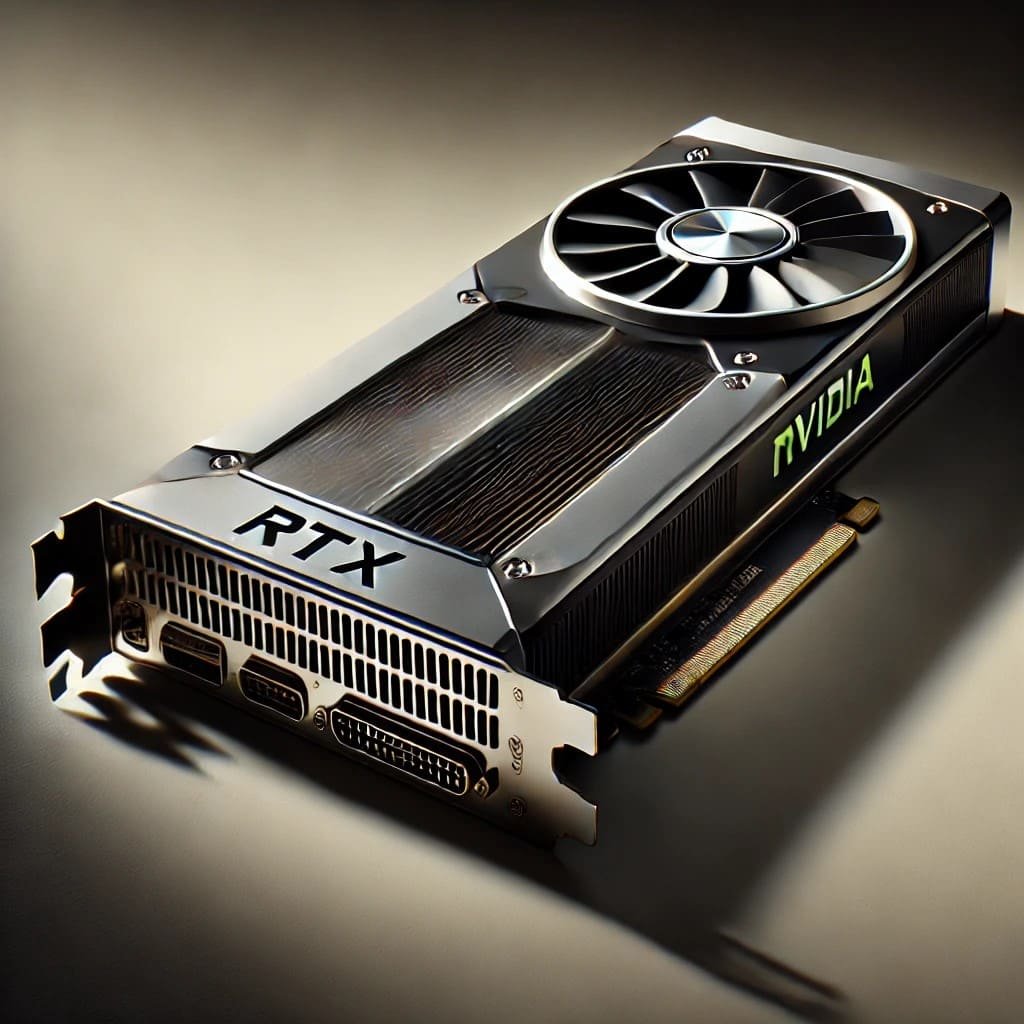
If you’re gaming, the GPU is your MVP. Look for a card that matches your resolution and refresh rate goals.
- NVIDIA GeForce RTX Series: Best for ray tracing and high FPS gaming.
- AMD Radeon RX Series: Great for performance-per-dollar.
💡 Example Pairings:
- 1080p Gaming: NVIDIA RTX 4060 or AMD RX 7600.
- 1440p Gaming: NVIDIA RTX 4070 or AMD RX 7800 XT.
- 4K Gaming: NVIDIA RTX 4090 or AMD RX 7900 XTX.
c) Motherboard
The motherboard connects all your parts. Look for features like:
- Chipset Compatibility: Matches your CPU (e.g., AM5 for Ryzen 7000).
- Form Factor: ATX (standard), Micro-ATX (compact), or Mini-ITX (small builds).
- Connectivity: USB ports, PCIe slots, Wi-Fi, etc.
💡 Good Choices: ASUS TUF Gaming, MSI MAG Series, or Gigabyte Aorus.
d) RAM (Random Access Memory)
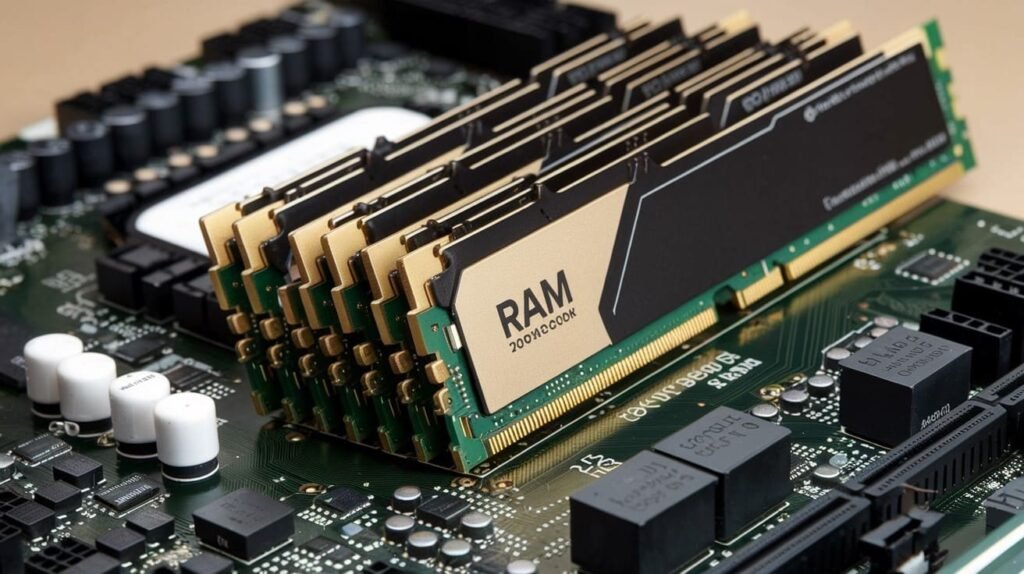
More RAM = smoother multitasking. The standard is 16GB, but 32GB+ is ideal for gaming or professional work.
- Speed matters (3200MHz or faster).
- DDR5 is the newest standard, but DDR4 is still great for budget builds.
e) Storage
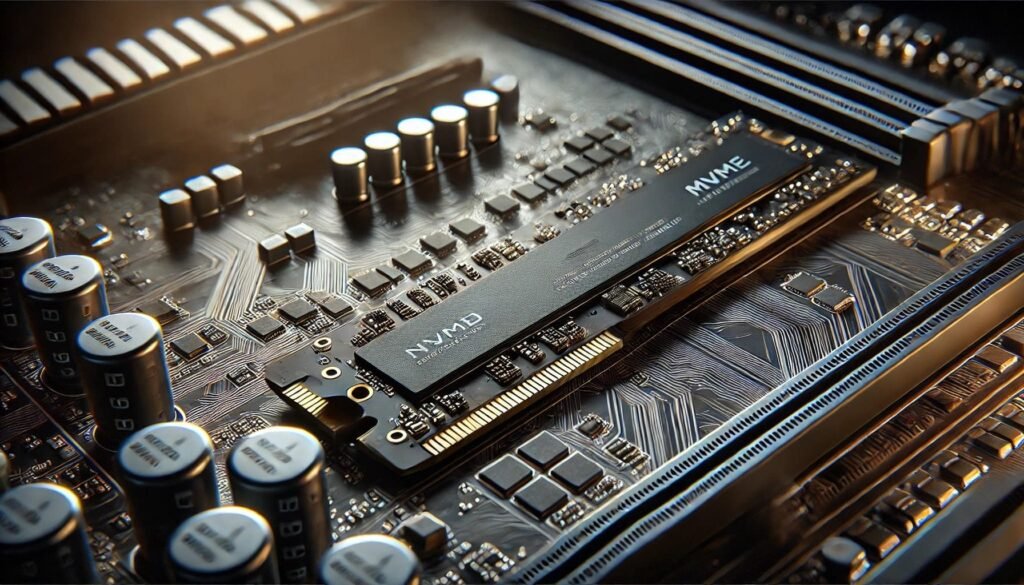
Opt for a combination of:
- SSD: Lightning-fast boot times and loading speeds.
- HDD: Affordable bulk storage for large files.
💡 Best Bet: 1TB NVMe SSD for speed + 2TB HDD for storage.
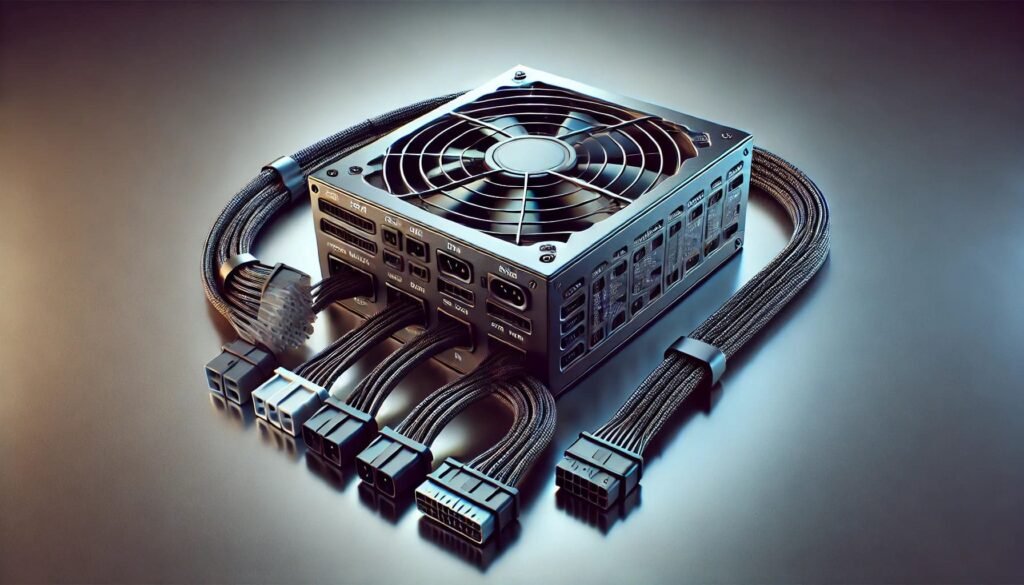
f) Power Supply (PSU)
Don’t skimp here! Choose a PSU with:
- Adequate wattage (use an online PSU calculator).
- 80+ Gold or higher efficiency.
- Modular cables for better cable management.
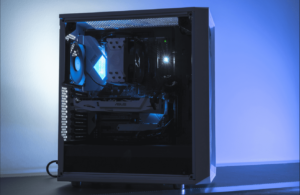
g) Case
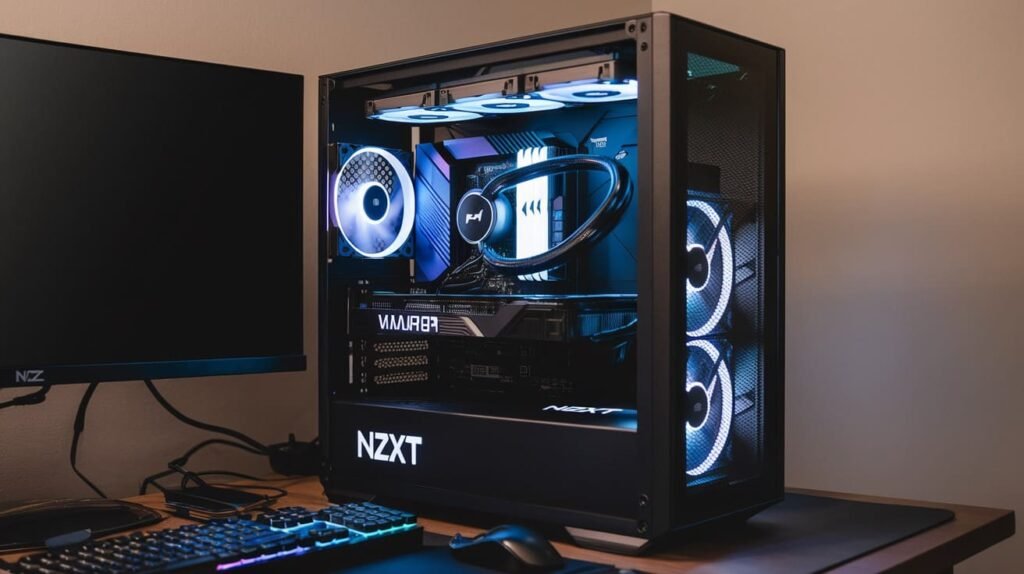
Choose a case that fits your style and components. Look for:
- Good airflow and space for future upgrades.
- Tool-less design for easy assembly.
- Tempered glass panels (if you want to show off your build).
💡 Popular Picks: NZXT H510, Corsair 4000D Airflow, or Lian Li O11 Dynamic.
h) Cooling

Most CPUs come with stock coolers, but aftermarket options improve performance and aesthetics.
- Air Cooling: Budget-friendly and reliable (e.g., Cooler Master Hyper 212).
- Liquid Cooling: Sleek and efficient but pricier (e.g., NZXT Kraken X63).
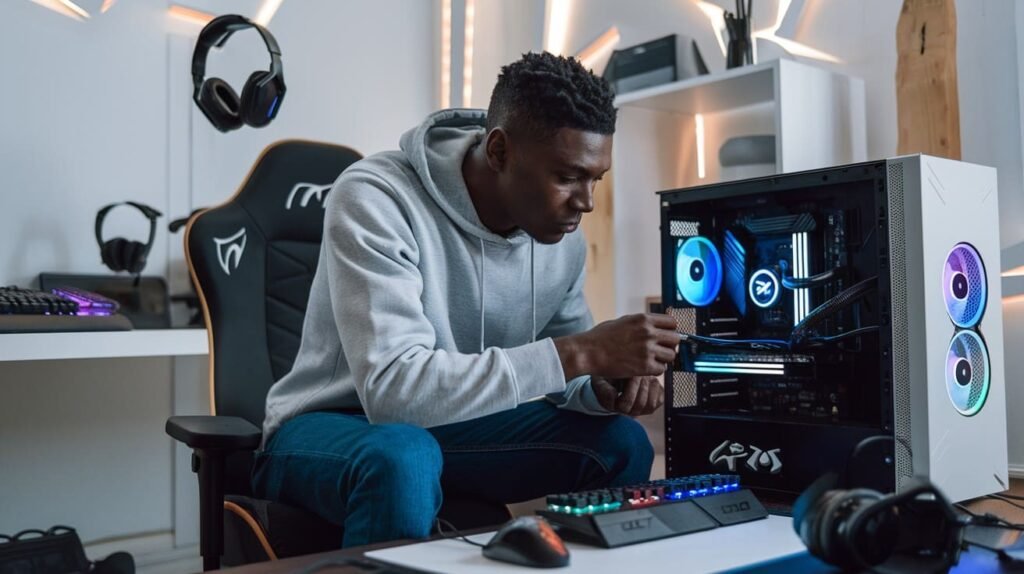
3. Assemble Your PC
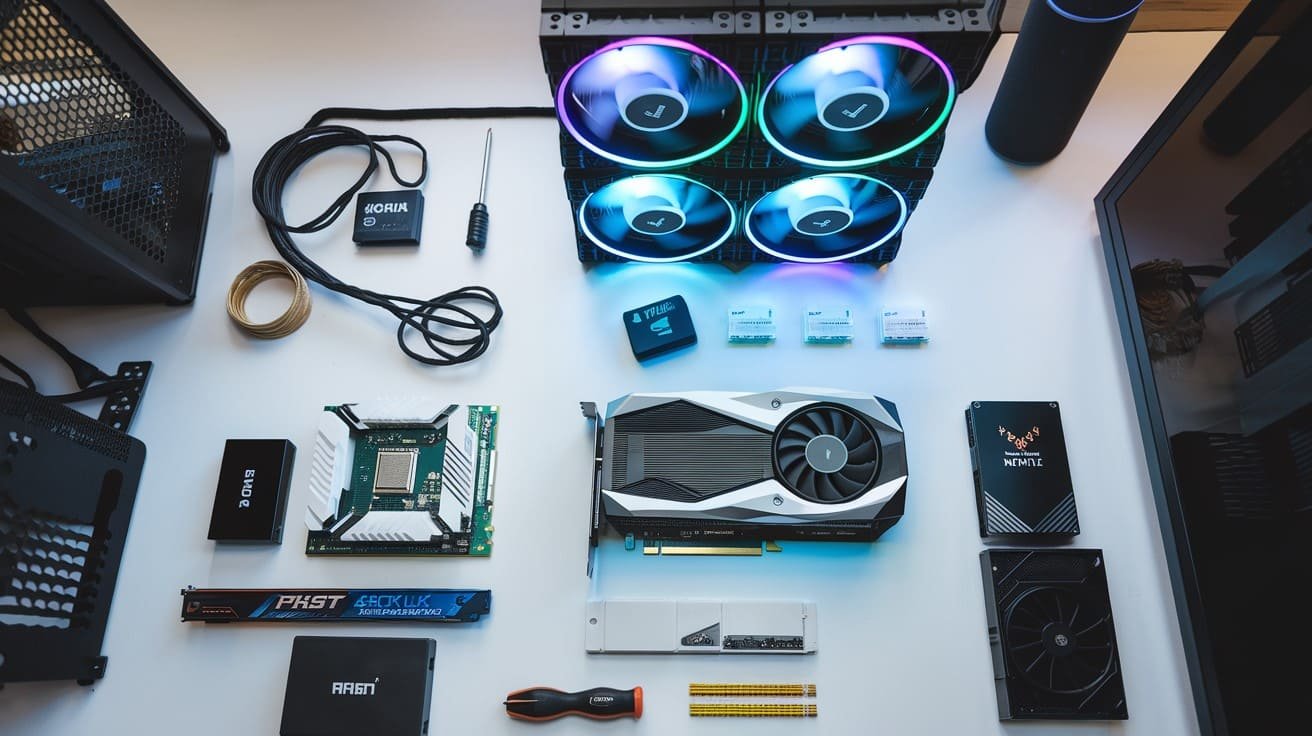
Now comes the fun part—putting everything together! Make sure you have:
- A clear workspace.
- A Phillips-head screwdriver.
- An anti-static wrist strap (optional but helpful).
Step-by-Step Assembly
- Prep the Case: Remove panels and set it upright.
- Install the Motherboard: Mount it using screws provided with your case.
- CPU Installation: Carefully place your CPU in the motherboard socket, aligning the notches.
- Add RAM: Insert RAM sticks into the correct slots until you hear a click.
- Install Storage: Attach SSDs or HDDs into their bays or M.2 slots.
- Attach the PSU: Secure the PSU and route cables neatly.
- Connect the GPU: Insert the GPU into the PCIe slot and secure it with screws.
- Cable Management: Use zip ties to tidy up cables.
- Add Cooling Solutions: Attach CPU coolers or case fans as needed.
4. Power On and Troubleshoot
The moment of truth! Plug your PC into a monitor and power it on. If it doesn’t boot:
- Check all power connections.
- Ensure components are seated correctly.
- Listen for motherboard beeps (these indicate errors).
Once it boots, access the BIOS to:
- Ensure all components are recognized.
- Adjust fan curves and enable XMP for RAM speeds.
5. Install Your Operating System
Download Windows, Linux, or any OS of your choice onto a bootable USB drive. Install it, update drivers, and you’re good to go!
6. Test and Benchmark Your PC
Push your new build to its limits with tools like:
- Cinebench: CPU performance.
- 3DMark: GPU benchmarking.
- CrystalDiskMark: Storage speeds.
Tips for a Long-Lasting Build
- Clean Your PC Regularly: Dust can kill performance.
- Update Drivers and BIOS: Keep everything running smoothly.
- Monitor Temperatures: Use tools like HWMonitor to avoid overheating.
Conclusion
Building your perfect PC is about more than just tech—it’s a statement of your needs, creativity, and problem-solving skills. By following this guide (and the visuals), you’ll not only assemble a machine but also gain confidence in your tech knowledge.
The question now is: What will your dream PC look like?

